Followers

Sunday 21 May 2023

Inside The Covers

 Good morning and a very happy Sunday. Over the past couple of weeks I've shared the box and the front and back covers of my London Celebrates album. Today it's the turn of the inside covers.

This is the back.

And this of course is the front.

The cover has two large pockets to keep your tags etc in. I've added one of the shabby heart flags from the cut-apart sheet.
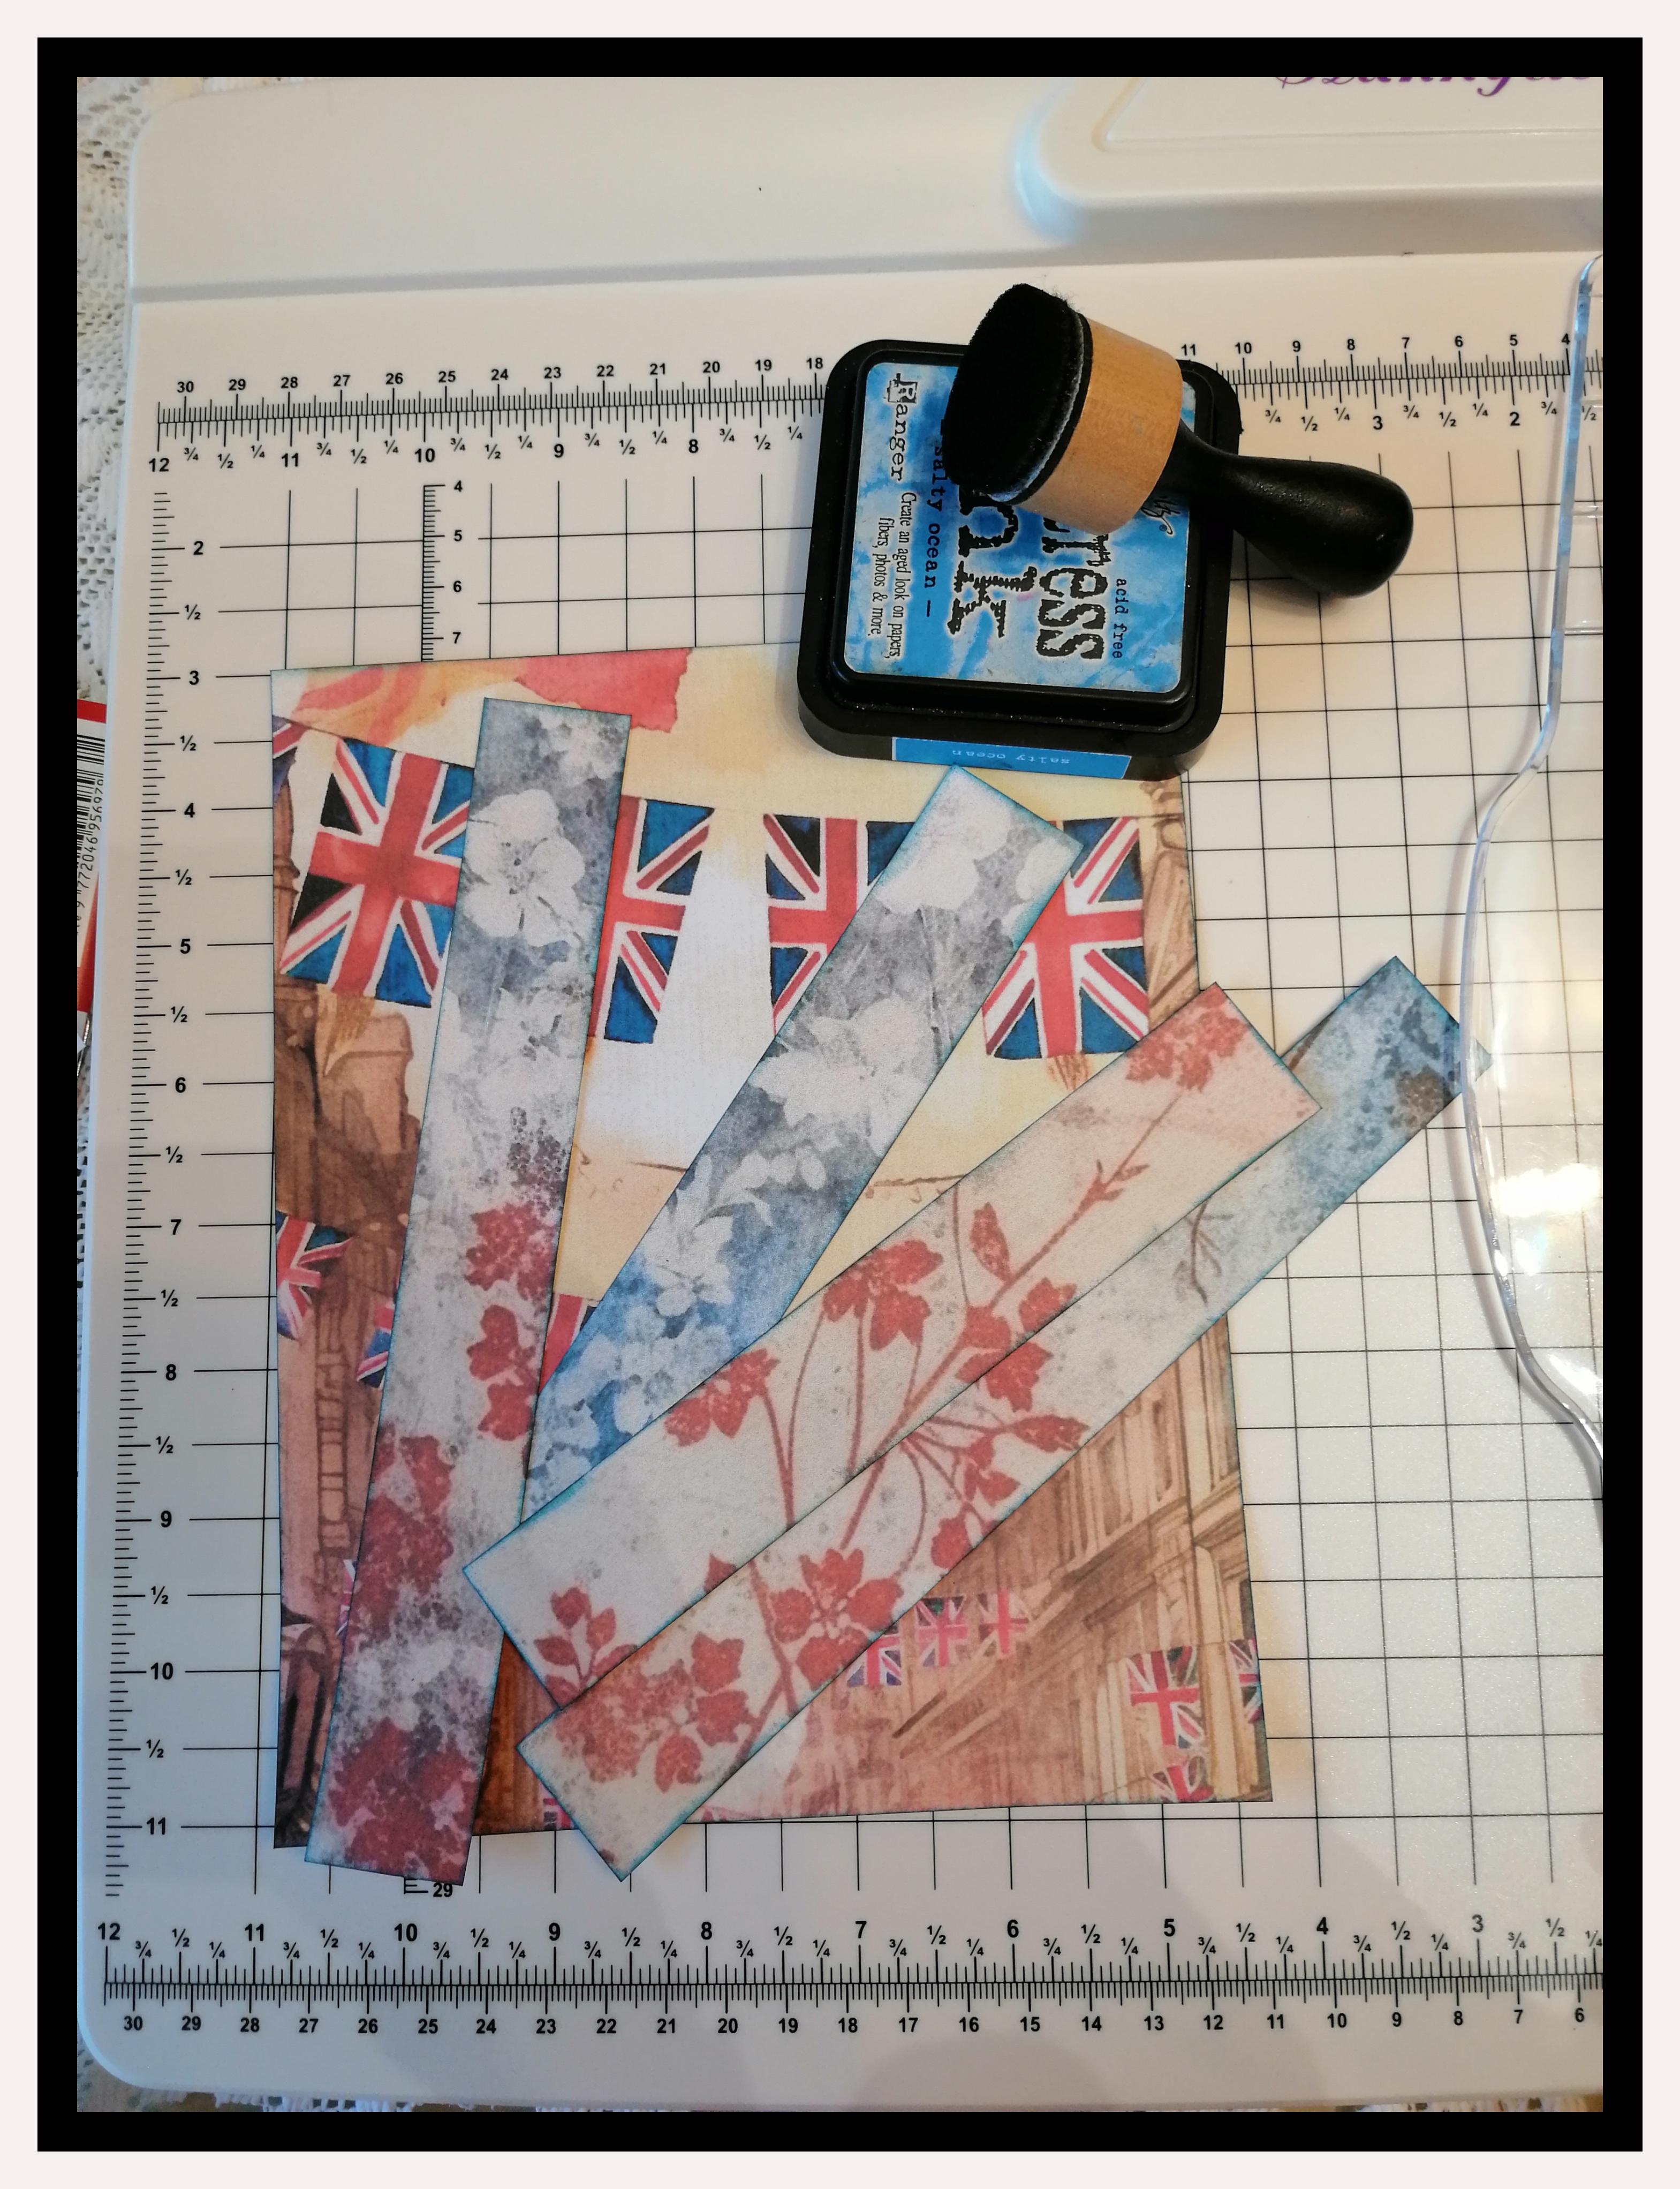
I've made some journaling cards from a cut-apart sheet. I've stayed with the red, white, and blue theme. Some of these will be going into the pockets later.
There are some postcards on a cut-apart sheet, and I've also made some of my own from the papers. I just had to use these soldiers, and there was even some left over for a tag!
I've put some magnets inside the folded bookmark and this will now hold something in place anywhere you like.

The collection is available here in Sally's store in both digital and physical papers.
There is new inspiration every day over on our social pages

Have a very happy weekend, and thanks so much for looking x


Monday 15 May 2023

Go Explore

 Good morning and a very happy Monday! I'm back today with my second piece for the Country View Crafts 'Vehicle' challenge, and I've gone with a steampunk theme.

I'm not quite sure what kind of vehicle this is, it's a kind of teapot on wheels!

I started by making a simple background with some Distress Oxides.

Then added this Stamperia background stamp.

Then I stamped and coloured my lovely floating teapot. I was having such a lovely time that I even cut out the fiddly bits between the spokes, and the windows. I added some acetate to the back to give it a bit of extra strength so I could pop it up on 3d tape.

And there we are, all done!

All things Stamperia can be found here in the store.

There's still loads of time for you to join in with our challenge, so please link up for the chance to win a £20.00 gift certificate.

Take care and have a very happy week xx


Sunday 14 May 2023

London Celebrates!

 Good morning and a very happy Sunday! Today I'm sharing an album that I've made with the Relatively Thoughtful London Celebrates collection, and luckily it fits (just) in the box that I showed last week.

I couldn't resist turning the front into a shaker, which is really easy to do as you can print each sheet as often as you like. I spent a lovely hour (not) sorting out my red, white, and blue sequins from a mixed tub lol.

I made my album using a tutorial by Paul of Papercrafting With Paul. This is the Let's Get Cosy album that he used as his G45 DT application.
 
It's a fab album with lots of spaces for photos.

The album measures 7'' x 6.25'' so just right for the A4 papers. There's a cut-apart sheet for the flowers, and the papers also make fab tags and postcards.
This is the back cover using one of my favourite sheets, a shabby Union Flag.
And this is how it looks with one of the postcards matted and layered up.
And this is how it looks in it's box. It's a really nice fit and it will keep it safe and sound.

You can find the collection here in Sally's store.
For new daily inspiration please join us over on our social pages

Have a very happy week, and thanks so much for looking x


Sunday 7 May 2023

God Save The King

 Good morning and a very happy Sunday, I hope you are enjoying your bank holiday weekend (again). 

To celebrate the coronation of King Charles, Sally at  Relatively Thoughtful has designed the fabulous London Celebrates A4 collection, and here's one of my projects -  a recycled box to keep my (yet to be made lol) album in.

I started with a pre-made box that is from a beauty kit.

It measures just shy of 8'' x 6.5''.

When I make a box from scratch I construct it with tape as I can make the top quite a bit larger than the bottom. This means it can fit snugly, but not too tight, and the lid won't scuff the paper on the base. However, as I'm re-cycling a box there isn't enough room to do this, so I've painted all of the edges and corners so that it will look neat when the papers are added.

I've chosen some feature papers for the tops and bottoms, and some pretty florals for the sides. All the sides have been inked and I'm ready to start sticking!

The two most important pieces of equipment - a Teflon tool for burnishing, and a really good wet glue.

This is the inside of the lid.

For the box base sides I've used the same paper as the lid to tie it all together. I've also used a paper that isn't directional, so it's always the right way up lol.

And this is the bottom - don't the soldiers look fabulous!

I added one of the postcards to the lid, together with some layered-up flowers from a cut-apart sheet.

Here are the top and bottom together.
And a close-up of the postcard.
I love how the sides look with their matching papers. All it needs now is an album inside it - I really must make a start on that!
This beautiful collection can be found here in Sally's store in both digital downloads and physical papers and card.

For more inspiration using this and all of our other collections please visit our social pages.

Have a very happy week, and thanks so much for looking xx


Monday 1 May 2023

Time Machine

 Good morning and a very happy Monday. 

It's a new week, a new month, and time for a new challenge at Country View Crafts, and this time Evelyn has chosen 'Vehicles'


I wanted to try my new Lavinia Elements inks, so my background has been made with a gelli plate, ink, and Brushos.

The stamps are all by Antonis Tzanidakis for Stamperia.

The Elements can be found here.

And all things Stamporia here.

I hope you like it, and that you join in with our fun challenge.

Take care and have a very happy May xx